
Blocked pipes and clogged drains start as minor issues in household and escalate into major problems. A clogged drain causes corrosion, slow water flow from drains, and flooding. In the worst cases, it can lead to costly repairs and sewage backup.
There are steps to prevent this from happening but understanding the main cause behind the clogging is the first major issue. Below the article enlists eight common clogged drain problems faced by people in their kitchens and bathrooms.
Before calling up for a plumber to fix your drain clogs be careful to look for a few things in your drain. The stuff that tries to escape through your pipes might be the major reason that could have to cause the clogging.
They are explained below:
The major reason that can cause a drainpipe to clog is hair. Hair binds with the grease and other sticky substances in the kitchen and bathrooms to form a clog.
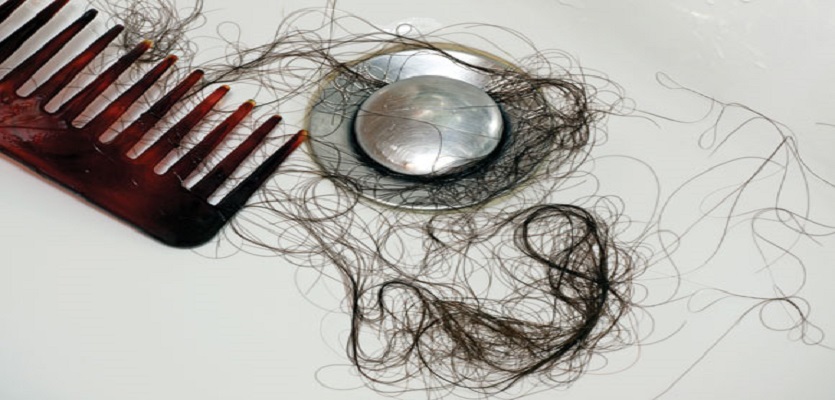
The only way to stop the hairs from your body coagulating in the drain is to prevent them from occurring. For these cover all the drains with guards and clear them out regularly.
The traditional soap bars are ladened with grease or fat, a significant reason for clog. The fat ingredient from the soap mixes with the minerals present in water and leaves behind a hard residue commonly known as soap scum.
The sum stains the clog pipes and bath fitting, causing the drains to block. It can be resolved by switching to soap-free dish washes and pressure cleaning the pipes to removes soap buildup.
Although the main purpose of a drain is to let go off the wastes in the sink or bathroom, that’s not always the case. While you are trying to get the dirt off your clothes, it can buildup and cause troubles in your pipes.
It is always advisable to mud off and shake or rinse off the dirt outside the sink, before washing the clothes inside.
A common problem that occurs in every household is the clogging of the kitchen sinks, and the culprit behind it is the food waste.
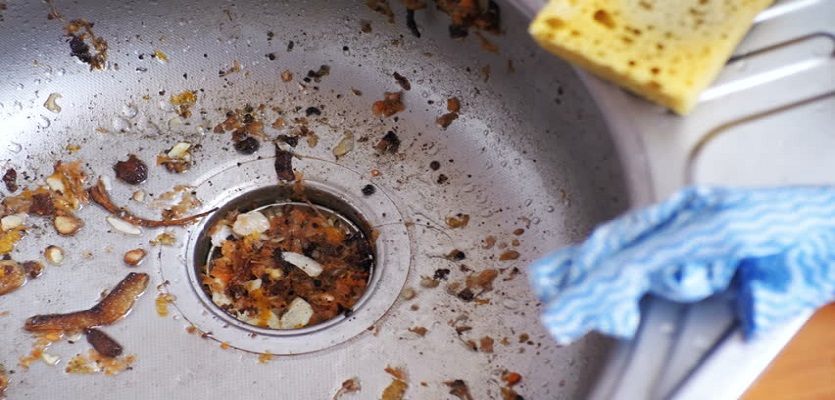
Its should never flow down the drain even if a garbage disposal is present in the sink. Tea leaves and coffee grounds don’t break down and get stuck.
Other food wastes to look out for in the sink include oil and grease. Use a paper towel to absorb the oil off the foods and throw it in a compost pile.
Minerals from different household material dissolve with hard water from the tap and cause an insoluble mass that blocks the pipes.
For this, you can always use a water softener at home, and if that isn’t available, you’ll need to remove sediments from building up and descale regularly.
Mineral clogs are hard to get rid off once they start accumulating and might require professional attention.
Other major culprits for drain clogs and plumbing issues are small objects which find their way through the drain. Anything besides water, human waste, toilet paper going down the toilet pipes can cause a significant upset in the drainage system of the house.
Objects other than those mentioned above should be disposed of in trash cans, composts, or recycled. If any foreign matter gets into the plumbing system, it is best to seek for a plumber.
Excessive use of toilet paper causes clogs and stops the toilets from flushing. If water is draining through your toilet pipes when flushed, then you can always use toilet plunger to get rid of the accumulated toilet paper waste.
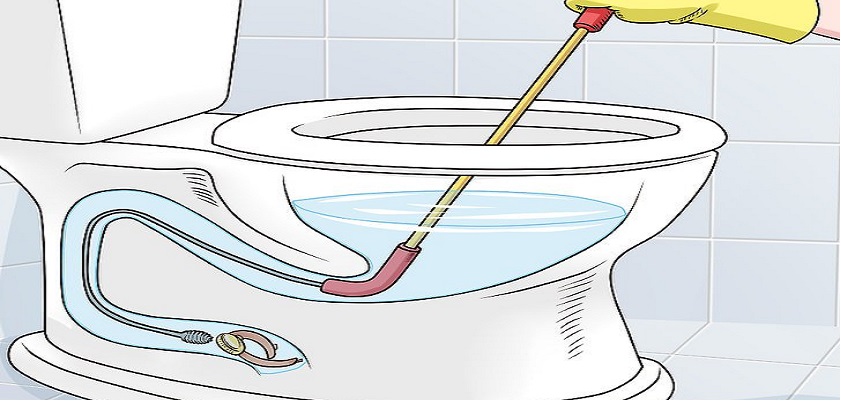
But if the toilet keeps filling up instead of draining then call a plumber.
Leaks or cracks in pipes laid underground attract tree root growth which once the pipe can cause a significant upset in the whole drainage system of the apartment.
The roots tend to grow faster-causing obstruction in water flow and ultimately pipe damage.
Clearing roots from pipes requires pressure jet cleaning, excavation, trenchless repair, and several other complex processes.
The first step is to know the root structure of the plants and roots around the house, locate the area of damage and monitor the condition of the drains to save the risk of an expensive repair.
With the rising clogged drains problems in bathrooms and kitchens regularly, the only way to fix them is to avoid ways to have the pipes clogged.
Never let any objects drain down your sink that shouldn’t and avoid using harmful chemicals and objects. Further if in case of emergency, please visit icareplumbing.com.au.
Water leaks will go unnoticed until and unless you receive an unexpected water bill in your home. Are you suffering from the same water leakage problem at your house? iCare has a team of experts who will detect the water leakage and will solve your issues by fixing it.
Research has said that on average 10% of homes have leaks. Worn toilet flappers, dripping faucets, and other leaking valves are the major causes of water leaks in your home. Water leak detection methods can be used to find the water leak in your house.
One of the best possible ways to identify the water leakage in your home is by checking the water meter. For this, you have to turn off all the water of your home. Shut off the faucets and turn off washing machines, dishwashers and other water requiring appliances. After this, look at the water meter, whether it is changing or not. If it does, then there is leakage and if it doesn’t change then wait for few hours and notice any changes. If the water meter is changing, then be sure that you have water leakages in your home.
U.S Environmental Protection Agency tells that if you are using more than 12,000 gallons of water per month, then there may be a severe leak in your plumbing. The water consumption determines the requirement in the house, and if it is more than the average, then there must be leakages which you must eradicate for having the right water bill in your home.
Gather the water bill from the previous months and compare them. If there is consistency in the water bill, then don’t worry about the leakages but if the bill amount is increasing rapidly then think that there is water leakage in your home. There may be some water pipes which are underground and are not noticeable. For this, the expert plumbers can fix the issues, and we are no doubt ready for your services.
Research says that the toilet uses up to 30 per cent of the total water of your home. To test whether there is water leakage in your home or not, add few drops of food colours in the tank of your toilet and wait for few minutes, if you see colour in the bowl of your toilet then there must be water leakage from the bathroom.
It is advised to check the spigots, hoses and irrigation system outside your home. Just a small leak can waste 6,300 gallons of wastewater per month. You must consider calling the professionals to fix the problems which can replace the rubber hose gasket and make the connections tight.
Make habits of regularly checking the back of cabinets and under basins for any signs of mould or foul smells which indicate the water leak in your home. Immediate attention can save thousands for repairs. The holes can be underground, inside the wall and the call the professionals who can deliver the prompt, efficient services at affordable packages.
Repair dripping faucets, toilet flappers, and showerheads to keep the home leak-free. In many cases, the replacement of the fixtures doesn’t require enough investment. Check the leaking faucets, leaking toilet, leaking overflow tube, flush handle issues and underground leaks to have free leakages in your home.
You cannot avoid the following considerations while finding the leaks inside the wall of your house.
The two main places where the water leak occurs are in the main service line between the water meter and home shutoff valve and in your irrigation system. You can contact iCare Plumbing for leak detection and fixation underground. The leak detection experts from iCare Plumbing will find the water leak and fix the issues at the same time.
The plumbers from iCare have years of experience in water leak detection and fixation. We have gained the trust of the thousands of satisfied customers. We have been using modern tools and equipment in the field of water leak detection, and our experts can fix all kind of water leaks.
Are you wondering about the bathroom renovation cost? If so then the time is over we will provide you the details of the bathroom renovation purposes and the costs required for the bathroom renovation in this section. So before going through this blog, you will get one question in your mind. What is Bathroom Renovation?
Bathroom renovation is the process of installing new bathtubs, showers, tiles, sinks, vanities, toilets, flooring, and other bathroom related items. The bathroom technicians have given the name bathroom upgrade for the bathroom renovation because it requires the new bathroom installation.
Fast Flo Plumbing provides affordable bathroom renovation services to the clients because we have been looking after the bathroom-related problems for a long time. There are different costs for bathroom renovation depending upon the level of materials used and the standard of bathroom installations in your home or in office.
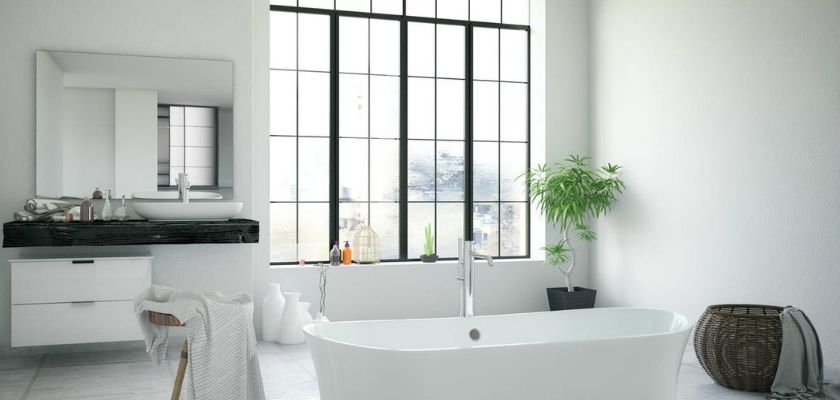
The different variables that affect the cost of a bathroom renovation are as follows:
The bathrooms can be small-sized, medium-sized and large-sized and the costs will be according to its size because the cost required for making a small-sized bathroom is not enough for renovating the large sized bathroom.
The different materials required for renovating your bathroom are tools and supplies, building materials, furnishing and fixtures, bonus appliances and gadgets and safety gear including eye protection and thick gloves. The quality of these materials varies and the cost will be accordingly.
Whether you need a traditional style bathroom or a modern bathroom in your home? A black or white bathroom with stylish appearances will also determine the cost required for renovating your bathroom in the home or in office.
The level of labor working in the bathroom renovation largely determines the overall cost because the cost taken by the labors who are working will be different and the more experienced and trained labors obviously take high amounts for their work. It is one of the important variables which affect the bathroom renovation cost.
The budget renovation costs, standard renovation costs and premium renovation costs are $5,000 and $15,000, $15,000 and $25,000, $25,000 respectively in Miranda, Australia. Similarly, the age group is largely determining the cost for bathroom renovation because the above 54 age group will spend about $11,900, between 35 and 54 years of age will spend about $12,700 and below 35 years will spend about $9,100 according to the 2017 Houzz Australia Bathroom Trends study.

The Costs That Need to be Planned Include:
The plumbers will charge you with the amount of about $60 to $100. This charge depends upon where you live and also differ according to the skill of the plumber.
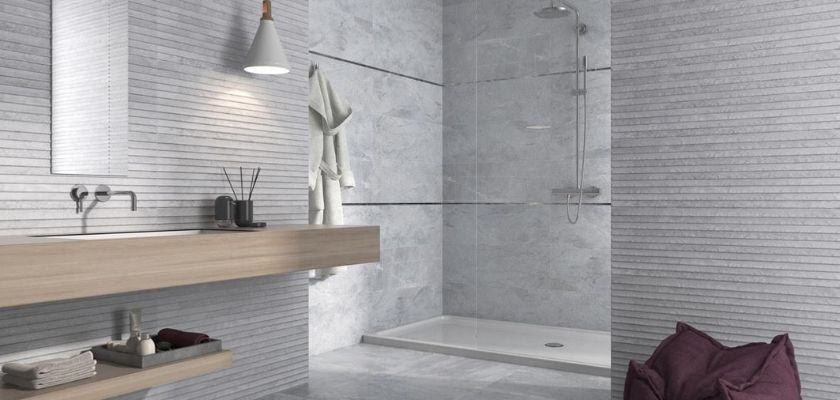
The bathroom tiling cost will be around $60 per square meter. The wall tiling will cost about $20 to $28 per square meter for standard white ceramic wall tiles to $68 per square meter for steel grey polished porcelain wall tiles. Similarly, for floor tiling, the cost will be $35 to $50 per square meter for porcelain tiles and about $80 to $130 per square meter for high-quality natural stone tiles.
It will cost about $400 for installing a basic frame shower screen and for installing the frameless shower screens; it will cost around $600. The shower screens are framed, semi-framed and frameless and the cost depends upon the size.
The toilet cost depends upon the type of toilet installed in your home or office. The good quality toilet costs around $275 to $450.
There are different types of vanities installed in your home or in the office. The cost will be around $467 for a wall hung vanity with hidden handles.
Waterproofing is important in your bathroom. The waterproofing costs will be around $500 to $750 depending upon the size of the bathroom.
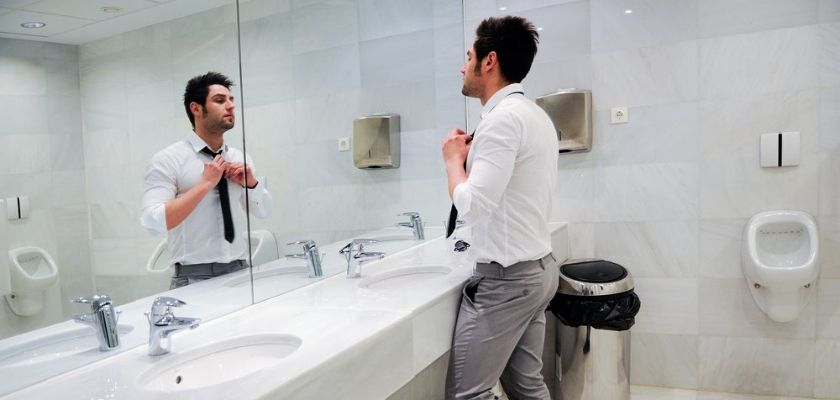
You may not have a large sum of money for the complete bathroom renovation but you have the alternatives for this. Some of the alternatives for complete bathroom renovation are as follows:
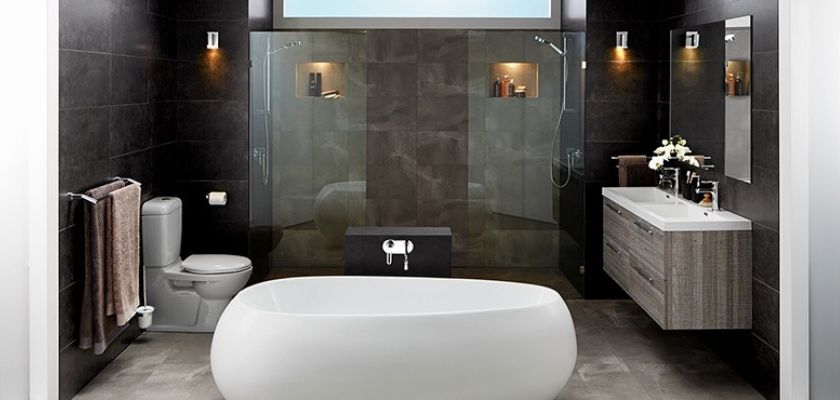
If you are running out of money but require an immediate bathroom renovation then you can simply change the appearance of the bathroom with the addition of a new shower screen, tapware and a lick of paint. The process of tile resurfacing, tile painting or putting overlays directly over the existing tiles can be done as a method of renovating the bathroom.
Don’t give unnecessary work to trades in order to reduce the cost of bathroom renovation if you are in a shortage of money. You can yourself clean the tile surfaces, paint the wall and change the shower screen. If you can’t afford to re-tile your bathroom then you can do other options like tile resurfacing and tile painting.
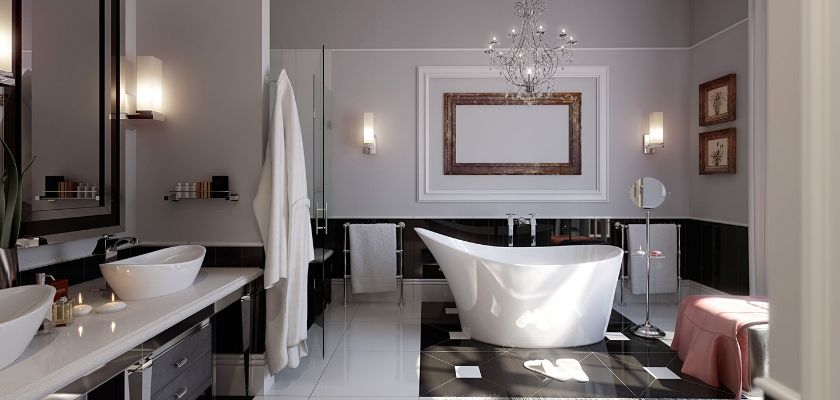
The various phases and steps required for completing the bathroom renovation are as follows:
In the pre-construction phase, there are many steps that need to be taken into consideration.
You should have close on the property so that it will be beneficial for you to have signed the property before beginning the design process. It takes time for bathroom renovation to occur as many procedures have to be followed.
You can have taken the reviews from the clients and photos from the past projects to know whether the contractors are trustworthy or not.
After knowing about the reviews, we can fix the contractor visit to our site for making proper plans and to secure the accurate bid.
You can compare and contrast which clients can help you to level the bids and can choose the contractor for renovating your bathroom.
After finalizing the contractor, he/she will provide you the contract for review which includes the work descriptions and the details of the payment throughout the project.
You need the requisite city permits for any plumbing related activities in your home and can obtain the approvals within 2 weeks.
If you are responsible for sourcing all the materials then be sure to place the orders after the completion of the design plan.
Try to be a good neighbor and tell them that the bathroom renovation is taking place at your site.
Most of the steps in the construction phase are the contractors’ responsibility and it is important to know about different activities happening in this phase.
The construction activities should be carried out with extensive renovation.
It is necessary to get the new plumbing or electrical during the construction phase of bathroom renovation.
You should check out for the plumbing permits from the city because you cannot close up the walls and move onto the next phase of the project leaving this inspection to happen.
To prevent the flooring reinstallation, you have to have a proper installation of the tiles at a time.
Installation of toilet, vanity, tub, and sink always comes last while renovating the bathroom.
It is necessary for the complete cleaning of the house after the toilet renovation.
It is necessary to review the work with the contractor so that the contractor will either fix the problem or suggest for the new renovation.
It is required to make a punch list of items during renovating the bathroom in your home or in office.
After addressing the last item of the punch list, it is necessary to make the final payment to the contractor.
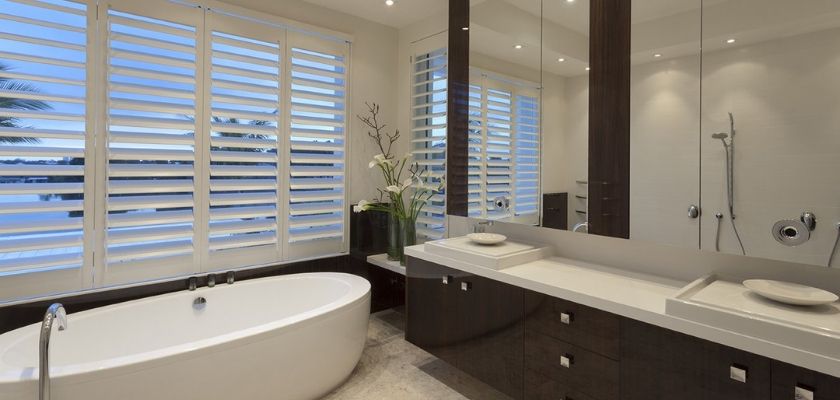
The tradespeople required for the complete bathroom renovation are tiler, plumber, electricians, carpenter, and handyman to clear the odd jobs.
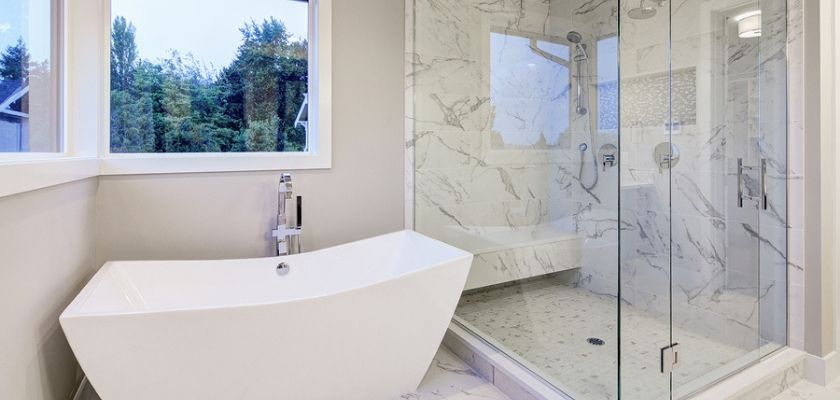
The bathroom renovation cost can be divided into 3 categories.
They are:
It is for the cosmetic renovation of the smaller bathroom and costs around $5000 removing the few items. Similarly, spending the $15,000 also includes compromises and you need to fix the large format porcelain tiles which are durable and are found in different colors.
With the aid of $15,000 to $30,000 of budget, you will get the good quality materials and fittings. You can have the best quality tiles in the floor and wall of your bathroom. Similarly, you can upgrade the frameless shower screen or semi-frameless shower screen along with the bathtub, and bathroom vanity.
The budget of $30,000 is enough for making the major changes in the bathroom layout and services. You can install a frameless shower screen, wall hung vanity and the best freestanding bathtub. Similarly, if you want porcelain tiles of $60 per square meter range on the floor and walls of the bathroom then you can afford using this budget.
It is very necessary to know about the various steps required for the bathroom renovation what should come first and what should follow after that matter a lot because without a proper plan and brainstorming we cannot make proper design and cannot carry out the construction activities. Some of the steps are:
There are many 3D modeling tools that can help you with proper bathroom design. You should include all the items like a bathtub, vanity, and toilet and shower whichever are required for your bathroom. Many of the bathroom builders will provide you a proper sketch of the design for your convenience.
After the arrival of tradies in your home, the first thing they do is to remove the old toilet, vanity, shower, and tiles. The removing process makes the environment quite noisy and messy.
The plumbers and electricians should know the exact location for fitting the items in their position. Therefore, proper planning is necessary while making the plumbing changes in your bathroom.
After fixing the pipes and electrical lines inside the wall, you need to render the wall which gives a clear finish to the wall. It is also ready for new tiling and painting after removing the old tiles from the walls.
Cement bedding is prepared in order to prepare for tiling in your bathroom. Waterproofing is also done to have the proper surface for tiling and is done by the professional plumbers.
After the cement bedding on the wall and floor, the next step is tiling on the surfaces. If you are planning of using the mosaics tiles then it will cost a little more as they are thrash.
After the tiling in your bathroom, all items like toilet, bathtub, vanity, basin, shower screens & tap ware will be installed by the plumbers. Similarly, the electricians will install the lighting, exhaust fans, and other electrical appliances.
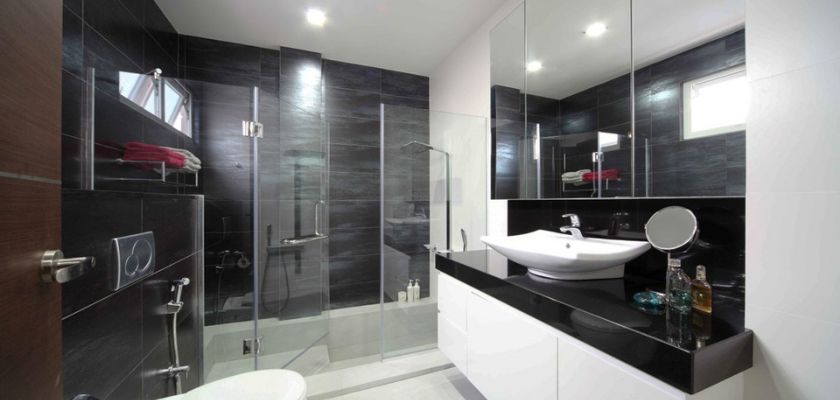
A licensed bathroom is required for plumbing and tiling the surfaces in your bathroom because only the qualified and experienced plumbers will renovate your bathroom properly. While hiring the renovator you should ask them the queries like are you a licensed? Are you comfortable to work in my home? How long will you take? Can you provide me your previous projects?
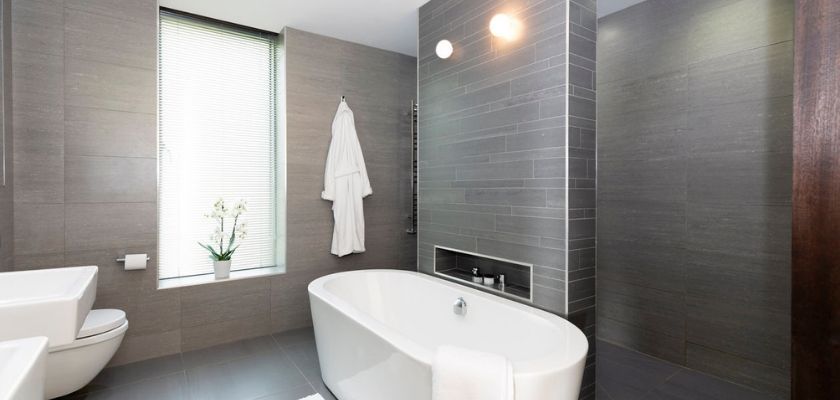
Some of the bathroom style and fittings are tiles, bathtub, toilet, vanity, and sink. These items are found in different quality and the cost also varies from one product to another because the consumers who prefer the products have different levels of buying behavior.
1) The cost of the budget tiles is around $30 to $55 per square meter while the premium tiles cost around $162 per square meter.
2) The cheap bathtub cost around $300 to $500, a premium bathtub cost around $3000 to $8000 and the mid-level bathtub cost around $1000 to $3000 without the installation cost.
3) Similarly, the basic toilet costs around $120, a standard toilet cost around $400, a vanity toilet cost around $120 to $200(budget vanity), $700 to $850(standard vanity) and $1500 and more for premium vanity which is available in the market.
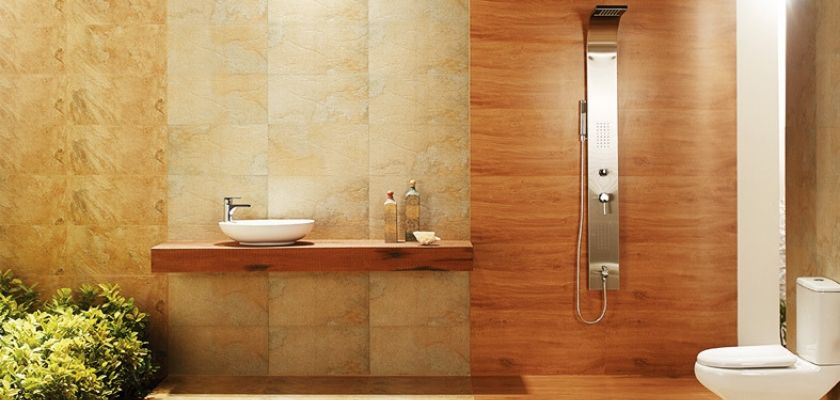
If you are planning to earn the profit from bathroom renovation then do research and know what your buyer is looking for. For this, you can get the idea from the real estate agent because they can provide you commission information, marketing strategies, sales history, and reviews.
Generally, if you spend around $5,000 to $10,000 for renovating the bathroom then you can increase the sales by tens of thousands of dollars no doubt. You can spend less in order to make improvements in your bathroom but can increase its value by double.
The bathroom renovation cost offered by Fast Flo Plumbing is affordable because we believe in quality services in your area. The costs depend upon what type of renovation scheme you are choosing like budget, standard or luxurious. So, always think before you leap.
A backflow preventer is a device that allows the water to flow only in one direction preventing the water to flow backward direction. The main aim of keeping it is to save drinking water from being contaminated. The backflow water may carry contaminants that can harm human’s health.Backflow occurs if there is drop in pressure in the main i.e during the main break and if there is water pressure at the property higher than at the main i.e if a pump is working at the site. The contaminants can enter the drinking water system via cross connection due to faulty plumbing and hoses submerged in buckets, tanks or pools.
There are many types of backflow preventers but the most important are:
Pressure Vacuum Breaker is less expensive and is easy to repair, maintain and install. It contains an inlet shutoff valve, a single valve body, check valve and two test cocks and an outlet shutoff valve. The drawback of this system is it sometimes ejects some water.
Reduced Pressure Zone is expensive but most secure and reliable backflow preventer. It contains an inlet shutoff valve, two independently operating spring-loaded check valves, four test cocks and an outlet shutoff valve. It is compatible with aboveground and belowground installation but the aboveground installation is more preferred.
Double Check Valves are best for underground or indoor installation and should be installed vertically if allowed by the building codes. It consists of an inlet shutoff valve, two independently operating spring-loaded check valves, four test cocks and an outlet shutoff valve.
Atmospheric Vacuum Breaker is the least expensive backflow preventer used for one or two zone irrigation systems. It should be installed at least six inches above the highest outlet in the zone and is not usage with the chemigation.
These backflow prevention devices have the following elements which are used for stopping the backflow of water:
Therefore, these devices are very important in human life as they protect the water quality from being contaminated and protect human life from infection as well.
When water is supplied into your home from the main pipe then it should flow in only one direction but due to the pressure change the water can flow backward into the main supply line. The backflow can occur if there is a break in the main water line and this causes the pressure lost which makes the water no longer pushed forward and will flow back into the main supply lines.Because of the backflow of water in the main supply lines, it will contaminate the drinking water supply with:
The backflow prevention system consists of the devices installed in your water pipe which allows the water to flow only in one direction from the main supply line. It allows the water flow in one direction and stops if the water tries to flow backward in the main supply line.
The backflow preventer protects the portable water and check valve controls the flow but it is not comparative. The check valve cannot be the proper substitute for the backflow preventer.
The backflow preventers are strongly made and assemblies that are installed are for about 50 plus years. They are providing the needed protection for the water systems in our homes and apartments.
If you are the owner then it is your responsibility to install the right kind of backflow preventer in the house and you must ensure the following points:
The plumber should always test the backflow prevention device, should know when they are installed and test every year after the device is installed. It is the responsibility of the house owner to consult the expert plumber while fixing the problems related to plumbing.We are seeking the problems from your side and will provide the immediate solution related to plumbing. So, never be late to contact us if you have to fix any plumbing related problems.
Every house owner should be aware of the boiler problem because it is necessary to heat the household in an appropriate and cost-effective manner. They should regularly maintain the boiler so that it won’t be working in an inefficient way in the house.Monthly services can help you to keep the boiler’s health and prevent problems from occurring in the future. There are many small problems common in the boilers and the engineers can easily find ways on how to do repair and maintenance.
Valve failure, airlocks, a faulty thermostat or low water level may cause a lack of heat or hot water in the house. You can check in order to identify the problems related to boilers.You can check the pilot light in a gas boiler to see that it is burning blue or you can check the thermostat on an electric boiler to see that it is set correctly.
The most common cause can be the broken pump seal or pressure valve for leaking and dripping. If the leak is from the pressure valve then it may be due to the high pressure in the boiler. But if it is from the pump seal then it may have become worn out and need replacing immediately.If you find the boiler is licking from the pipe then it can be due to the corrosion when the system has not been properly fitted. So, in these cases, you can call the Gas Safe registered engineer to fix the leaking and dripping problems of the boiler.
The air in the system and the kittling are the common causes for the strange banging, whistling or gurgling noises. The low water pressure or pump failure, which means that the central heating system is not receiving enough water through its pipe to heat your home can also be the cause behind the banging noises.The problems related to the low pressure in the boiler which is losing the main functions should be rectified properly. The strange banging, whistling or gurgling noises are the problems of the boiler and need troubleshooting as quickly as possible.
The pilot light is a small blue flame that is used to light the larger burner and if it goes out then it can be due to the broken thermocouple which is the device that responds to the temperature inside the boiler or due to the deposit built up in the pilot light.Before you reignite the pilot light it is necessary to check the gas supply. If your boiler is not receiving any gas then you should consult the gas supplier but if you are not able to find the exact problem then call the Gas Safe registered engineer.
If the pressure gauge is fluctuating below the 1 bar then you should be sure that the boiler is damaged with the low boiler pressure and be sure that the central heating systems won’t function properly. The following are some of the reasons behind the low boiler pressure:
Follow the instructions given in the heating system manual for the proper working of the boiler and if the boiler is not working and you are not able to fix the problems then it will be better to call the registered engineer.
The condensing boilers have the condensate pipe which carries the acidic water and this pipe will run outside into the drain because of which there is possible freezing of the pipe during the winter season.If the condensate pipe has been condensed then your boiler will display the fault code, you can reset it if it is not responding then you should be sure that the pipe has been condensed due to cold.You can treat the condensed pipe using the hot water bottle or a warm cloth on the frozen part of the pipe. You can also put hot rather than boiling water over the pipe then you can reset the boiler. If it is not working then never hesitate to call the registered engineer.If your boilers are installed before 5-6 years ago then you need the replacement boiler because the older boilers are more prone to faults and do not run efficiently which lead to boiler failure. Always aware of the warranty of the boiler product and keep the boiler parts safely for future use when the boiler is damaged or shows the faults.
Flushometers are plumbing devices which are used in toilets which are tankless and depend on the water pressure from the water source itself. Toilets with flushometers are commonly seen in public restrooms and places of business.
When the flushometer is activated it releases a sufficient amount of water into the toilet, then closes back up. The single flush wastes less water per flush than the simple tank system because it uses the low volume of water with high pressure. Therefore it does not require a tank and no refilling time between the flushes.
If flushometer does not function then it may be due to the closing of the main valve or when the handle assembly and relief valve worn out. For the solution, you can open the control valve or main valve, install Sloan Handle Repair Kit(B-51-A) or replace the inside parts kit.
The major causes for the insufficient volume of water to adequately siphon fixture are controlled stop not open enough, urinal flushometer parts inside the closet flushometer, low consumption flushometer installed on a non-low consumption fixture, water saver kit installed in old, non-water saver bowl and inadequate volume or pressure at supply. These causes should be minimized and solved as far as possible.
The possible solutions for the insufficient volume of water to adequately siphon fixture are adjust control stop for the desired delivery of water, replace inside urinal parts with the proper closet flushometer parts, and replace A-41-A inside parts kit with A-38-A water saver kit. If no gauges are used for measuring the supply pressure then remove the relief valve from an inside parts kit.
The causes for the closing of flushometer immediately are ruptured or damaged diaphragm and enlarged by-pass orifice from the corrosion or damage. The possible solution can be installing inside parts kit to correct the problems and flushometer.
The major problems related to the short flush are diaphragm assembly and guide assembly are not hand tight, enlarged by-pass orifice from corrosion or damage, A-19-AU urinal relief valve in closet flushometer, A-41-A low consumption kit installed in non-low consumption fixture and handle assembly is worn. These problems need to be eradicated in order to have good flushometer at home.
To avoid the short flush screw the two assemblies hand tight, install new inside parts kit to correct the problem and update flushometer, replace Relief Valve with A-19-AC Closet Relief Valve, replace with proper inside parts kit and install Handle Repair Kit B-51-A or replace the Handle. It is necessary to avoid the problems of short flushing at home.
The causes for long flushing are Relief Valve (A-19-A) is not seating properly or by-pass orifice is closed because of foreign materials, line pressure has dropped and is not sufficient to force Relief Valve to a seat, A-19-AC Closet Relief Valve has been used in a 1 gpf urinal and inside cover is cracked or damaged. These are the major problems related to the long flushing in toilets.
The long flushing can be treated properly with the guidelines like disassemble the working parts and wash thoroughly, shut off all control stops until the pressure has been restored, then open them again, replace with A-19-AU Relief Valve and replace the inside cover (A-71). The problems should be immediately solved for the proper working of the flushometer.
There will be chattering noise in the flushometer if there is A-156-A Segment Diaphragm has been installed upside-down and the Inside Cover has become distorted from wear, freezing or abuse. These can be solved by replacing the Segment Diaphragm to the proper position as instructed by markings on the Diaphragm and by replacing the Inside Cover.
There is leaking at Handle Assembly if the B-39 seal is worn or deteriorated, Handle gasket has been omitted and the Valve Handle Bushing is worn. The possible solutions for the causes are install new B-39 seal, install A-31 Handle Gasket or Sloan Handle Repair Kit (B-51-A) and install Sloan Handle Repair Kit (B-51-A).
It is advised not to use the chemical cleaners to clean the flushometer because they can attack the special decorative finishes and only use the soap and water to clean and use the clean cloth to make it dry.